
Landscape Photography Tips: Lessons from my First Year Shooting (pt 1)
When my refurbished Canon Rebel T5 arrived at my doorstep, I was eager to shoot everything around me. I set out to Central Park and snapped ponds, flowers, trees, animals, cherry blossoms and all sorts of random shrubbery. Naturally, I made every mistake in the book. I knew nothing about shutter speed, aperture or ISO, and good lighting to me meant that the sun was out.
I've learned a ton since that first day in Central Park but I continue to be humbled by the incredible photos and talented photographers that I encounter each day. That said, the great thing about photography is that there is always more to be learned. With the start of the new year, I wanted to reflect on the lessons I learned from my first year shooting, and hope these landscape photography tips will be helpful to others who are just diving in.
1. Shoot in RAW
Your camera will give you the option to shoot in RAW or JPEG. JPEG means the photo is processed and compressed and placed in a format that is ready for usage. If you're shooting in JPEG, you can import your photos from your camera to your computer and have it ready to be shared on your website, social media, via email, etc.
While shooting in JPEG is convenient, with that compression comes a huge loss of data in your photo. When I say loss of data, I mean fewer shades of color and less dynamic range. This results in a lower quality photo that offers you less control when editing in Lightroom or Photoshop. You'll learn very soon that retaining the most control possible is critical in photography.
2. Switch Everything to Manual
Speaking of control, putting your camera in Manual mode allows you to do just that. First, set your camera to the M icon in the mode dial. This gives you full control of your shutter speed, aperture and ISO – the three settings that create your exposure. Your exposure will determine the look, feel and mood of your landscape photo. It's your job to set it up properly to communicate your message as the photographer.
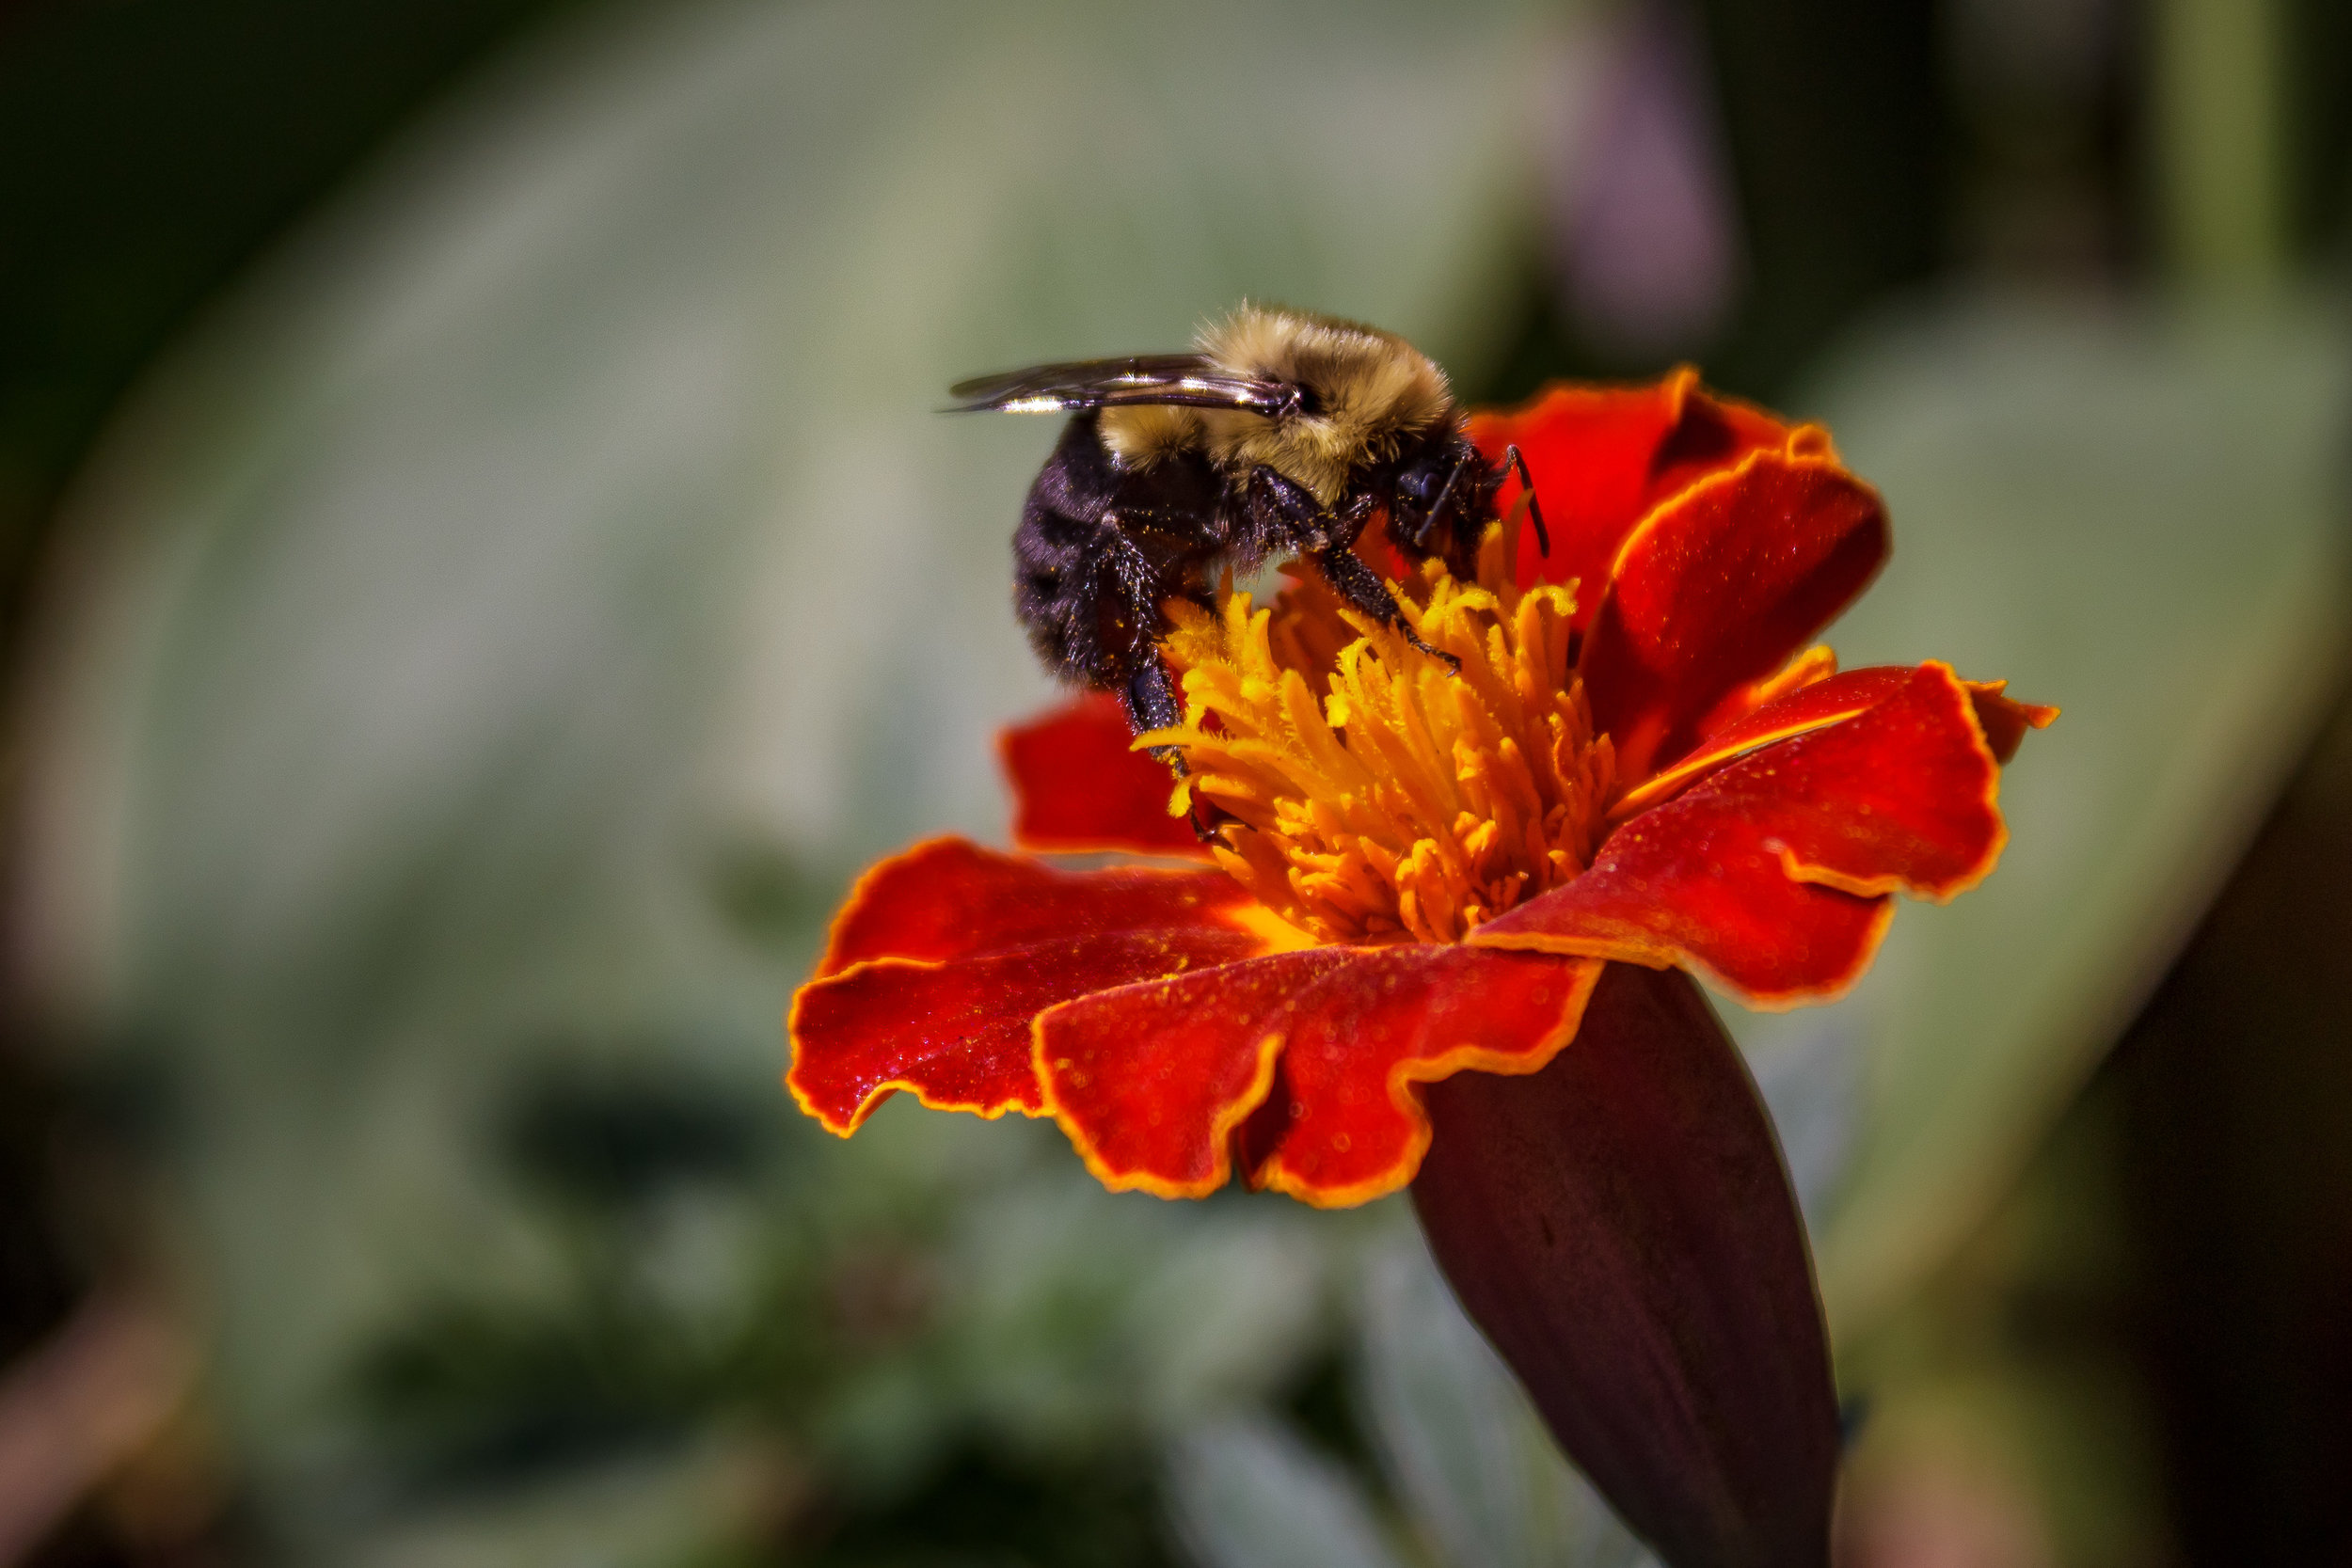
Capturing a bee in the moment before it flew away (Location: Montreal)
Second, switch to manual focus. This should be a switch on your lens labeled AF for autofocus and MF for manual focus. Again, this is about control. It helps you be more precise with your focus and the sharpness of your image. It also helps in situations where you need to stay quiet, and, with practice, can be the faster alternative to autofocus. After all, a split second can mean the difference between capturing or missing a unique moment in time (e.g., a big wave crashing on the rocks, or a dolphin jumping out of water).
3. Keep your ISO Low
ISO is you camera's sensitivity to light. The higher your ISO, the more sensitive it becomes to light. Increasing your ISO is useful, and at times necessary, when shooting in low light situations. However, with a higher ISO, comes more grain and noise, which is never ideal in landscape photography.

ISO 3200 (zoomed in) - Very noisy and grainy (Location: Central Park)

ISO 100 (zoomed in) - Little noise (Location: Central Park)
The rule is to always keep your ISO as low as possible, with consideration to your aperture and shutter speed. For example, I usually start by setting my ISO at 100 and the proper aperture for the shot, then adjust my shutter speed until my light meter tells me my image is properly exposed. This is assuming that I'm using a tripod and have all the time in the world because the shutter speed can get very long, making the process of shooting each photo time consuming.
However, there will be situations when you need a very specific shutter speed; if you need to freeze movement, for example. In which case, I will try to adjust my aperture to get the right exposure. It is typically only when I need a particular shutter speed and aperture (and still can't reach the proper exposure) that I will go back and increase my ISO.
4. Lighting Makes All the Difference
Light is profoundly important in photography, and is especially crucial in landscape photography. That is why you will find most landscape photographers shooting only during dusk and dawn. These are the times of the day when the light is soft and the sky is beautifully colored. In contrast, shooting in the middle of the day typically offers harsh light that casts dark shadows and overexposes your image.
During the first few weeks with my DSLR, I took a day trip to Cold Spring, NY. The sun was setting later in the day and I had to get home to feed my dogs. As a result, all of my photos were shot in the middle of the day. And while Cold Spring is a beautiful town, my photos were lackluster – all because of the harsh light from shooting mid-day.
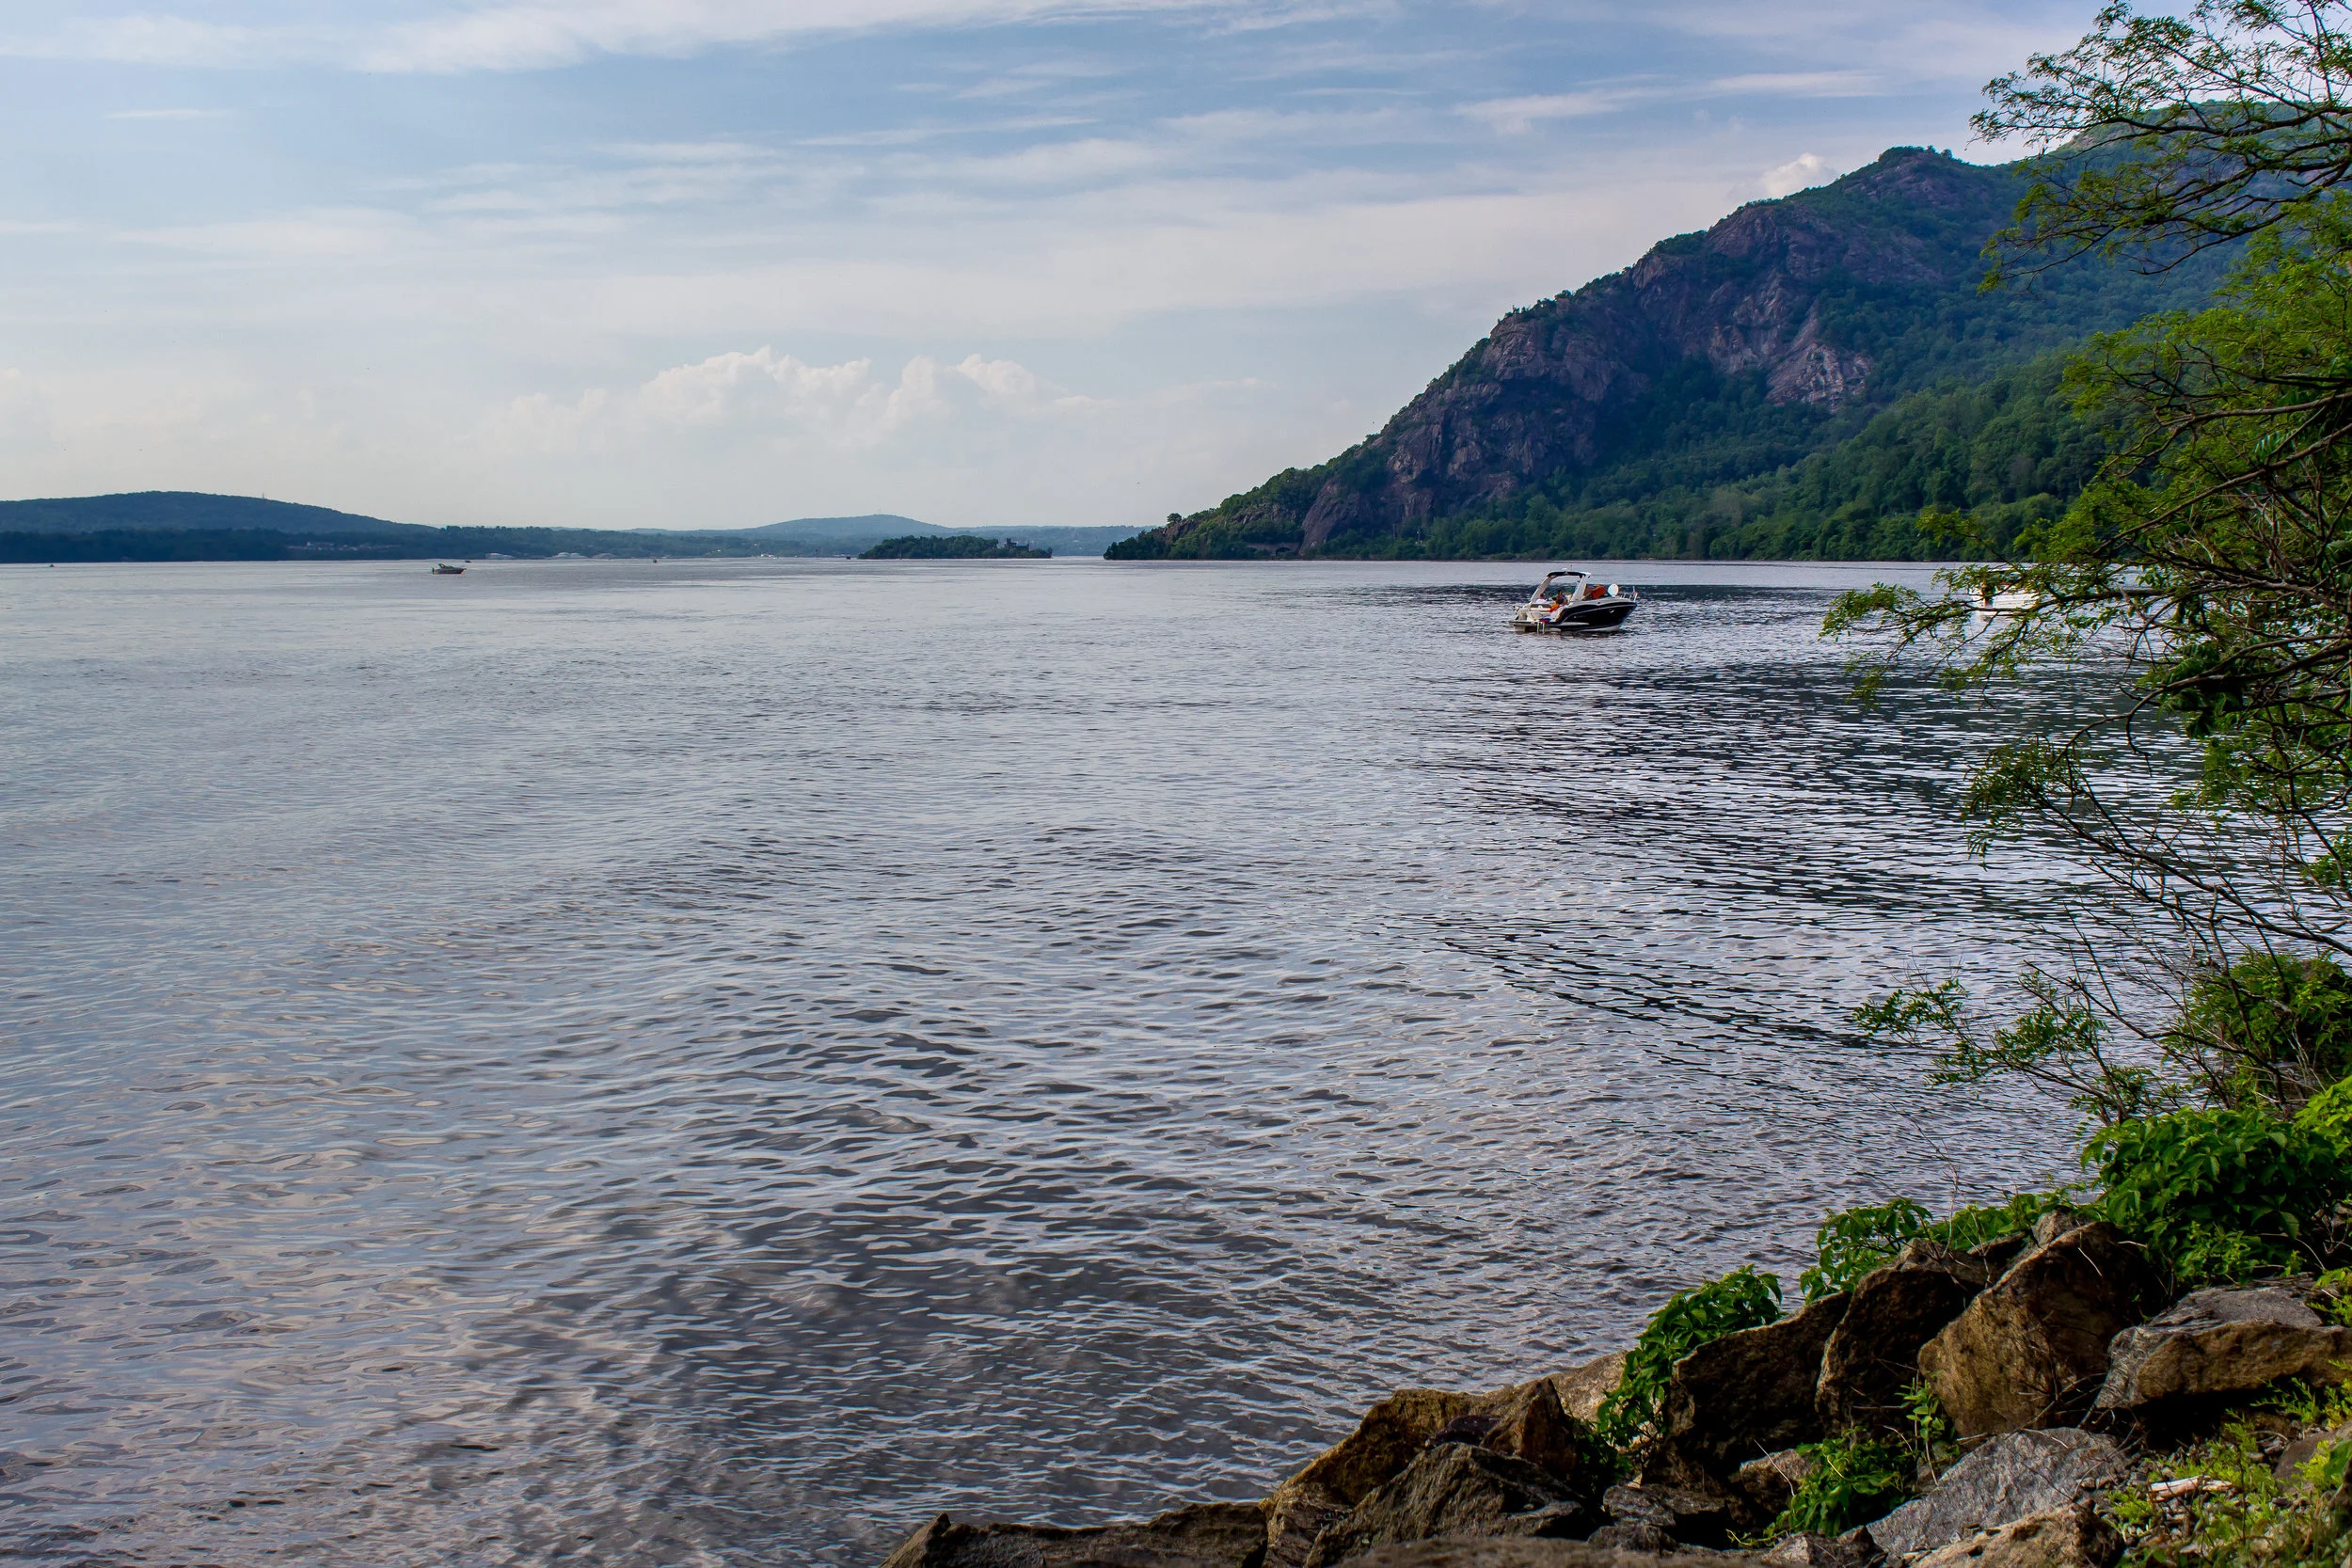
Mid-day shot when the light was harsh and shadows were dark, resulting in a flat image (Location: Cold Spring)
5. Clear Skies Suck
I never thought I would complain about days filled with sunshine and blue skies until I got my feet wet in photography. When shooting landscapes, there is almost nothing more boring than a clear sky. There's no texture, no drama, no interest in a plain blue sky.

Boring clear sky (Location: Union Square)
If you can get just a few clouds, there's potential in creating mood with long exposures where the clouds appear to be shooting across the sky. My favorite are dark, stormy clouds that really show you what mother nature is made of. There's just so much more you can do with cloudy skies while shooting, as well as in post processing.

Few clouds - long exposure (Location: Roosevelt Island)
Stormy clouds - my favorite! (Location: Long Island City)
6. Glue your Tripod to your Hip
Living in Manhattan, I used to be self-conscious about looking like an obnoxious tourist lugging my tripod around. Now, I embrace it fully because there is no chance I am shooting without my tripod. Funny enough, more people ask me for directions when I have my gear with me than when I don't (little do they know, I still get lost every day).
Tripods are important to achieve two of the things I will talk about shortly: 1) long exposure (next up in this article) and 2) bracketing (next blog post). Moreover, tripods are good in general to achieve maximum sharpness in your photo. When shooting with your camera in hand, your shutter speed must be at 1/60s or faster to avoid capturing the shakiness in your hand. That means if you need to adjust your shutter speed to anything longer than 1/60s to achieve the right exposure, your image will turn out blurry.
Tripods are also great for framing a shot. You can take your time and make minor adjustments by moving and tilting the camera on the tripod. If you encounter a shot of something grand, you can use your tripod and timer to include yourself in the shot to show scale.
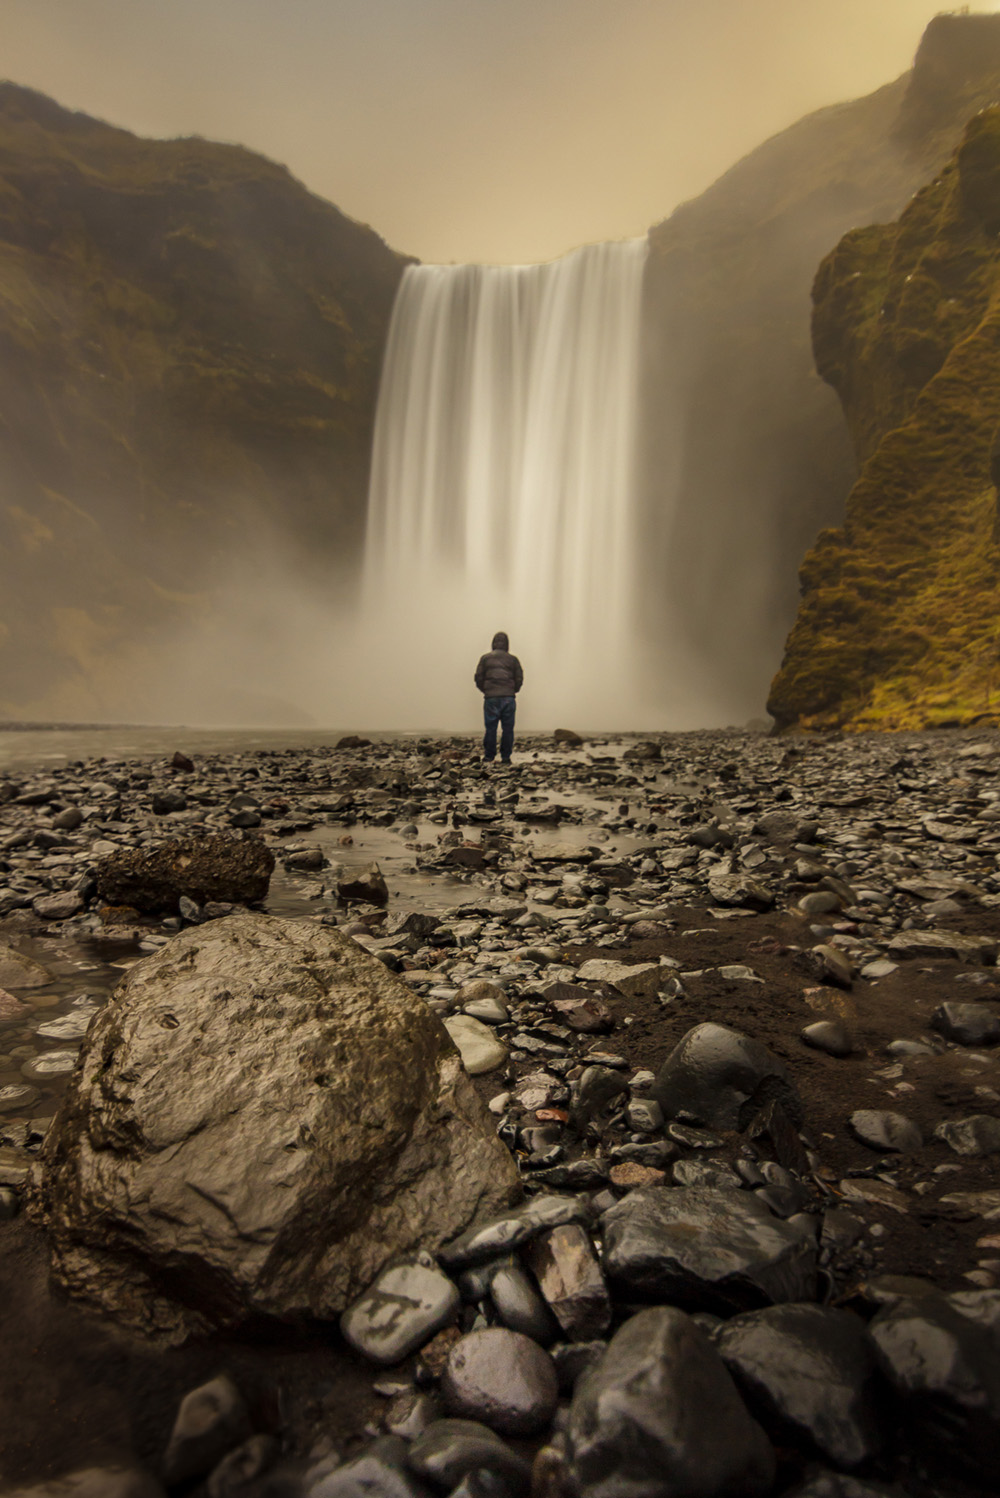
Long exposure shot with bracketing – tripod required (Location: Skogafoss, Iceland)
7. Long Exposures Create Interest

Long exposure: Smeared clouds (Location: Times Square)
Long exposure involves creating an exposure with a long duration shutter speed. Longer shutter speeds enable you to show motion in your photo.
You've likely seen photos of milky water falls, glossy streams and light trails of cars moving through a freeway. These types of photos were accomplished by leveraging long exposure.
In my humble opinion, long exposures can mean the difference between a good photo and a photo that wows you. Gloomy skies can turn into paint strokes, water into silk, and cars into streaks of light.
When browsing in Instagram, long exposure shots are those that stop me in my scroll.

Long exposure: Light trails (Location: Tudor City)

Long exposure: Glossy stream (Location: Vermont)
When I started writing this post, I had every intention of covering all 14 tips but, as it turns out, I had a lot more to say about these first 7 than I thought. So you can find the remaining lessons in the part 2 post, which coversL
- Camera remotes are a must
- ND filters help with mid-day shoots
- Camera raincoats protect your camera
- Bracketing achieves better skies and HDR
- Dodging and burning create exceptional photos
- Great photos take time
- Being purposeful in photography matters