

Written by: Allie Beauchesne
If you’ve been following along with our food photography guide for marketers, you’ve already learned a great deal about what makes a great food photo. We’ve discussed composition, styling, and the basics of camera settings, but today we thought we should review what you’re using to capture those beautiful photos!
While this is, by no means, a comprehensive list of potential gear, it can be used as a guide for what the Julee Ho Media team has had success with after over 200 shoots. As a team, we lean toward the Canon brand and, as such, will show our gear choices using mostly Canon products.
Step 1: Entry Level
For those looking to bump up from their iPhone to a DSLR and learn the ropes of shooting in manual, this is an easy first step to take

For a really basic, entry level gear package, we would recommend three things:
A good, reliable DSLR camera to get you going and learn with
A reliable, affordable tripod
An inexpensive 50mm fixed lens, often referred to as the “nifty fifty” and usually less than $150
The Canon Rebel is a great, lightweight, reliable DSLR to get you started on your photography journey. While it will most likely come with a 18-55mm lens, commonly called a “kit” lens, you may want to drop another $100 or so bucks on a 50mm lens that can afford you a more narrow depth of field which is often crucial in food photography (learn more about that here!). Finally, complete your beginner’s kit with a lightweight tripod. Amazon Basics has you covered.
There are obviously other items that go into a food photography setup, including diffusers, backdrops and food props, but if you have the three things above, you’re ready to start practicing!
This setup is an ideal start for:
Beginner food photographers/bloggers
Food brand social media managers
Early startup food & beverage company founders
Restaurant owners
Here’s a few images shot with a Rebel!


Step 2: Semi Professional
After you’ve gotten the hang of shooting manually with your entry level camera, you may want to start thinking about making some upgrades. For most, this would include a full frame camera and perhaps a new lens or two. Sticking with Canon, here’s what we’d opt for next.

A full frame camera in the same brand as your entry level, so your lenses will still work
A nice macro lens for wonderful detail shots
A sturdy tripod with a center column for overhead shooting
A wider angle lens for overhead shooting
Bonus stuff: A diffuser/reflector, a counter weight for your tripod, a nice camera bag
The Canon 6D is a great next step up from the Rebel series while sticking with the same brand. This camera also offers a full frame sensor and has built in wifi, allowing you to connect to the camera from your phone, computer or tablet and shoot remotely – a trick we often use for getting our hands in the frame.
A macro lens is important for getting very close, detail shots which can be important in food product photography, whereas you won’t be able to properly focus if you get too close to your subject when using other types of lenses. Canon’s 100mm f2.8 macro lens is a great choice for this. On the flip side, a wider angle lens is also ideal for getting more in the frame and shooting overhead. Canon’s 35mm f1.4 is a little pricey, but very fast and great for capturing action shots, as well as shooting in tight spaces.
It’s also important to have a more sturdy tripod to support this new gear of yours, and something like Neewer’s tripod/monopod with a center column is a great, versatile call. It’s also light enough to lug along to on-location shoots like restaurants.
Speaking of traveling with your stuff, a camera backpack is a smart piece of gear to add to your inventory, especially one as stylish and unassuming as this number from Bagsmart.
Finally, you’ll want some weights to stabilize your tripod should you shoot overhead, and a diffuser/reflector to really utilize that natural light.
These pieces of equipment will take you from amateur to feeling like a professional pretty quick! But don’t forget, it’s more about practice and less about gear. Always try to “out grow” your gear before upgrading – you’ll be so glad you did.
Here’s some images shot with a Canon 6D!


Step 3: Professional Food Photographer
After you have been shooting for a while and really feel like you’re ready for the top of the line equipment, this is our suggested setup for gear. Keep in mind, we don’t recommend replacing your earlier “semi professional” gear, but adding to it instead. Two camera bodies are infinitely better than one – we often use two to get different angles during video shooting, and always bring two along to on-location shoots – it’s always good to have a backup!
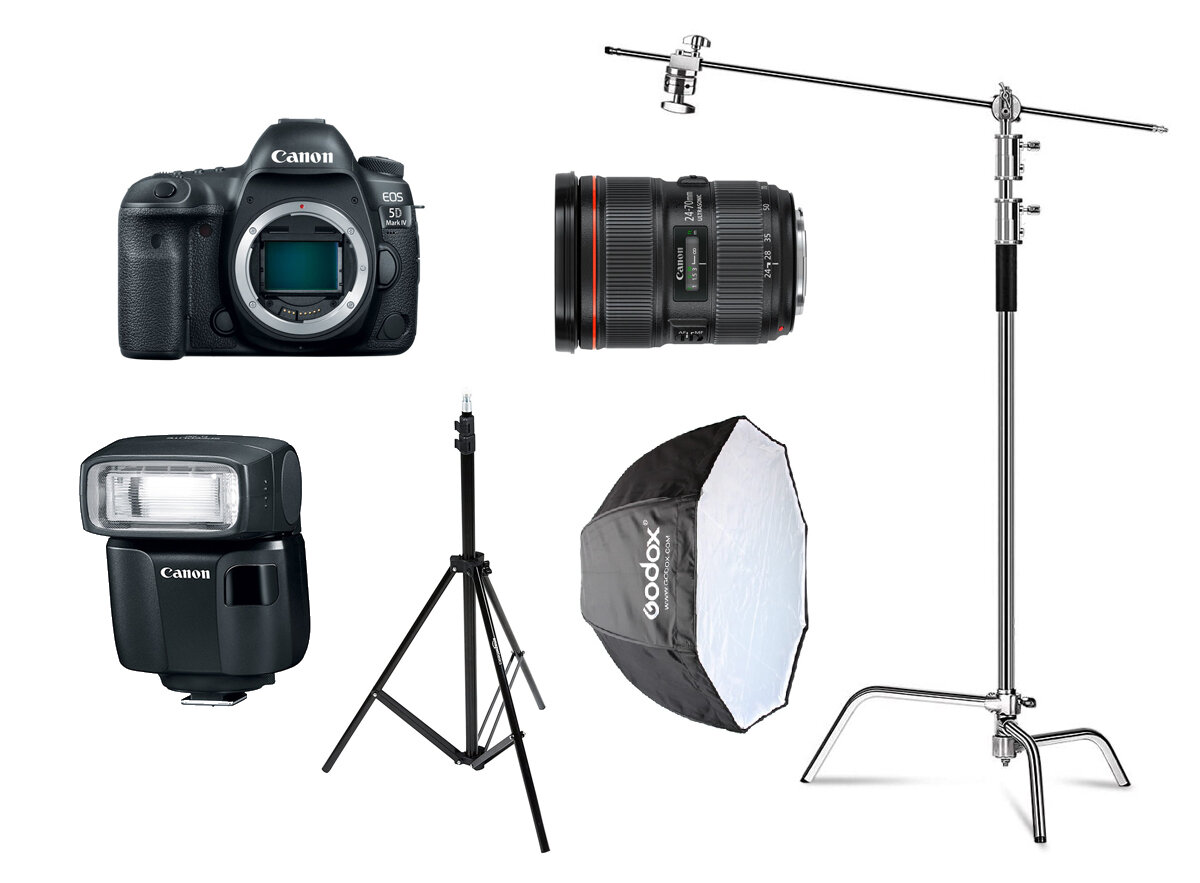
A high-end, full-frame camera with HD video capabilities
A zoom lens that also offers a narrow depth of field
A C-stand to mount your camera and other gear
An off-camera flash and the applicable gear to mount and diffuse it
The Canon 5d Mark IV is our trusted choice for a professional grade camera. It takes great HD video as well, and the built-in wifi is used all the time for shooting remotely.
A lens that can afford a narrow depth of field like f2.8, while still being able to zoom in and out, is a great asset to have on any on-location shoot. We like Canon’s 24-70mm lens for this.
For shooting overhead, holding up backdrops, and more – a c stand is a great asset for any food photography studio.
Once you’re a pro, you’ll need to be able to shoot like one in any condition – meaning artificial light. A speedlight, mounted off camera, is a great way to mimic the sun while being able to shoot whenever you like. You’ll also need a light stand or two and a softbox for your flash, to position your lighting where you need it.
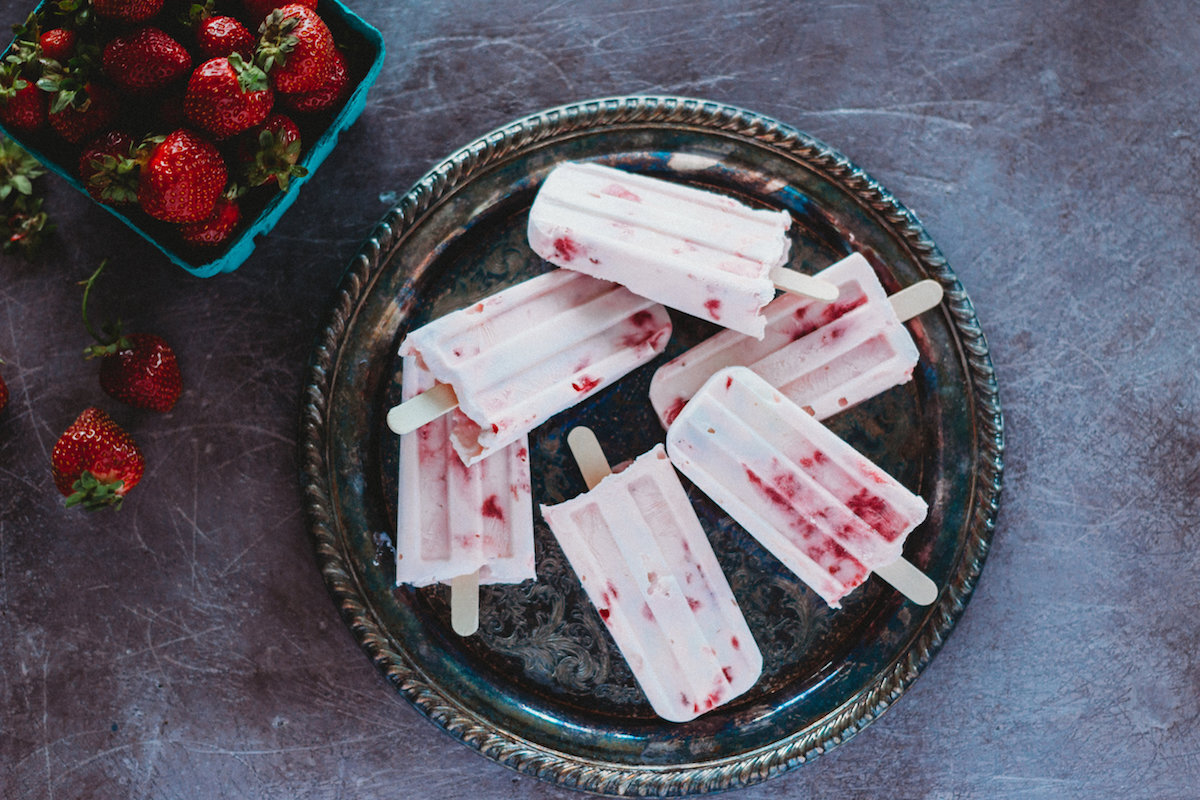
Here’s some images we’ve shot with the Canon 5d and artificial light.


Of course, you’ll need to be able to edit, store and share all these amazing images you’re about to take – so here’s our list of additional gear we recommend for any food photography professional.

A quick computer with the processing power to work on your images
Editing software
Fast, big memory cards to last you through multiple shoots
An external hard drive to back up your work
We love our 16” Macbook Pro – it’s great for travel and using on shoots while strong enough to support the big files you’ll be working on.
A 128GB Sandisk Extreme memory card is extremely fast for shooting in rapid succession (key for pour or splash shots!) and has enough space for a whole lot of images.
We also love the Sandisk 1TB solid state external hard drive. It’s tiny, portable and reliable. It’s solid state means it works very quickly and is less likely to crash. And at 1TB, it has plenty of space to back up your work.
Finally, we love the Adobe Creative suite of products for editing our photos and videos.
While this list may look a bit overwhelming at first, food photography is very much a craft you hone over time. By being careful to grow before expanding your equipment, you can ensure your skillset is worthy of more expensive gear. As always, the best camera is the one you have on you – and the one you know how to use.